
Need to break a long video into smaller chunks? Whether you’re editing a vlog, a tutorial, or just having fun with clips, splitting videos doesn’t have to be hard. In fact, it’s super easy! Let’s go through 3 easy ways to split a video into equal parts—even if you’re a total beginner. 🎬
Contents of Post
1. Use an Online Video Splitter (Fast & Easy!)
If you don’t want to download anything, this is your best bet. Websites like Kapwing, Clideo, or Online Video Cutter let you split videos right in your browser. No installs, just drag, drop, and go!
Here’s how to do it:
- Open an online splitter (search for “video splitter online”)
- Upload your video file
- Select the number of parts or the exact length for each part
- Let the tool chop it up for you
- Download the split clips—done!
Pros: Super fast, works on phones or computers, no downloads
Cons: File size limits, needs internet, may add watermarks (unless you pay)

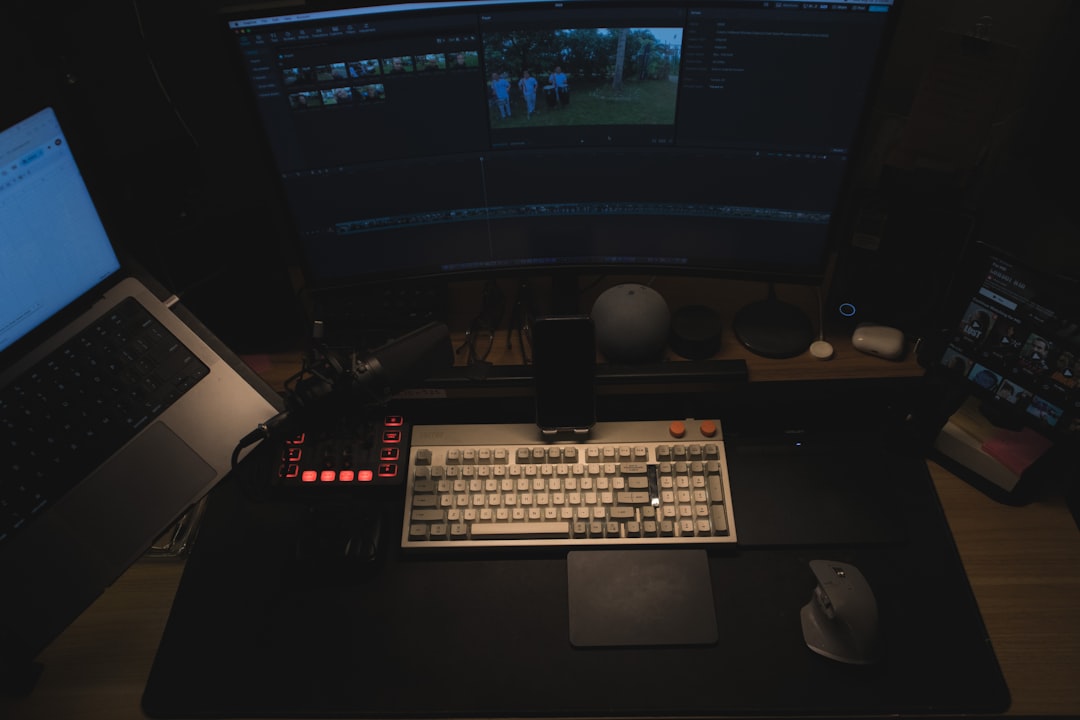
2. Split Videos with Free Software (Windows & Mac)
If you want a bit more control, go for free tools like Shotcut, OpenShot, or iMovie. These programs give you more flexibility and better quality. Plus, they’re 100% free.
Here’s how it works (example using Shotcut):
- Download and install Shotcut
- Open the app and import your video
- Drag the video into the timeline
- Move the playhead and hit ‘S’ to split
- Do this at regular time intervals
- Export each part as a separate file
Tip: If you want equal parts, calculate the total length and divide by the number of pieces you need.
Pros: Higher quality, offline, no file size issues
Cons: Requires installation, learning curve if you’re new
3. Use Your Phone (Yes, Really!)
Don’t want to touch a computer? No worries! You can split videos right from your phone using free apps. For iPhone, try iMovie. On Android, apps like YouCut or InShot work great.
Steps to split a video on your phone:
- Download a free video editor from the app store
- Open the app and load your video
- Find the split or trim tool
- Use the timeline to make equal cuts
- Save the clips one by one
This method is perfect for quick edits on the go. Great for Instagram, TikTok, or daily vlogs.
Pros: Quick and mobile, great for social media
Cons: Harder to be precise, smaller screen space
Bonus Tips
- Tip 1: Always make a copy of your original video before editing.
- Tip 2: Use a stopwatch or timer if your tool doesn’t auto-split into equal parts.
- Tip 3: Consider converting your video to MP4 if it’s in a weird format. It works best!
Final Thoughts
Whether you’re creating content or just organizing your videos, splitting them into equal parts is simpler than ever. You can do it online, with free software, or even with your phone. 🎥
Pick the method that fits you best and start snipping!
Happy editing! ✂️