
Every blogger knows that content is king, but visuals—especially featured images—are the royal scepter. A well-chosen featured image can make or break the success of a blog post. Unfortunately, not every blogger has the time, design skills, or patience to perfect every post with a unique image. That’s where this lazy blogger’s guide steps in—to help streamline the process, while still nailing engaging visuals for your WordPress site.
Contents of Post
TLDR: Too Long, Didn’t Read
Creating perfect featured images for WordPress doesn’t have to be time-consuming. Use quick tools like Canva or automatic plugins, stick to consistent dimensions, and maintain branding through fonts and colors. Automate what you can, reuse templates, and follow best practices to ensure every post looks polished—even if you’re doing it the lazy way.
Why Featured Images Matter
Featured images are the first glimpse users get of a blog post on your homepage, in social shares, and even in search engine previews. Skipping them—or doing them poorly—means fewer clicks and lower engagement. Even lazy bloggers can’t afford to ignore them.
- First impressions: Your featured image is usually the first thing people see.
- Social media optimization: Platforms like Facebook and Twitter auto-pull featured images when posts are shared.
- Brand consistency: A cohesive image style builds brand recognition over time.
Step 1: Choose the Right Dimensions
WordPress themes differ, but having a standard featured image size ensures consistency across your website. Most themes recommend a size like 1200 x 628 pixels because it’s optimized for both on-site display and social media sharing.
If you use various sizes, you’ll likely encounter awkward cropping or blurry images, which completely defeats the point of having an attractive visual to begin with.
Step 2: Use Free Tools to Create Featured Images Fast
There’s no need to master Photoshop. Several free tools let you create stunning featured images in minutes:
- Canva: Choose from thousands of templates, adjust branding, and export in the correct size.
- Snappa: Excellent for pre-sized templates built specifically for blog headers.
- Crello: An easy-to-use tool with drag-and-drop options and free graphics.
The beauty of these platforms? You can save a single branded template and reuse it by simply swapping out the background image and title.
Step 3: Automate Featured Images With Plugins
If you really want to be lazy—but smart—the next level is automation. WordPress has plugins specifically designed to handle featured images for you:
- Auto Post Thumbnail: Automatically sets the first image from your post as the featured image.
- Quick Featured Images: Lets you replace, set, or delete featured images in bulk.
- Default Featured Image: Sets a fallback image so your posts are never without one.
Whether you batch-edit or prefer reactive automation, there’s a plugin to fit your publishing style.
Step 4: Keep Branding Consistent
Even if you’re going minimalist with your design effort, a little branding goes a long way. Outline a few key branding parameters to make every image feel polished:
- Fonts: Choose 1–2 easy-to-read fonts and use them consistently across images.
- Color palette: Select 3–5 brand colors that appear across every image.
- Logo or watermark: Add a small logo in the corner of your images for easy recognition.
With tools like Canva, you can save brand kits and templates that include these elements, minimizing future work.
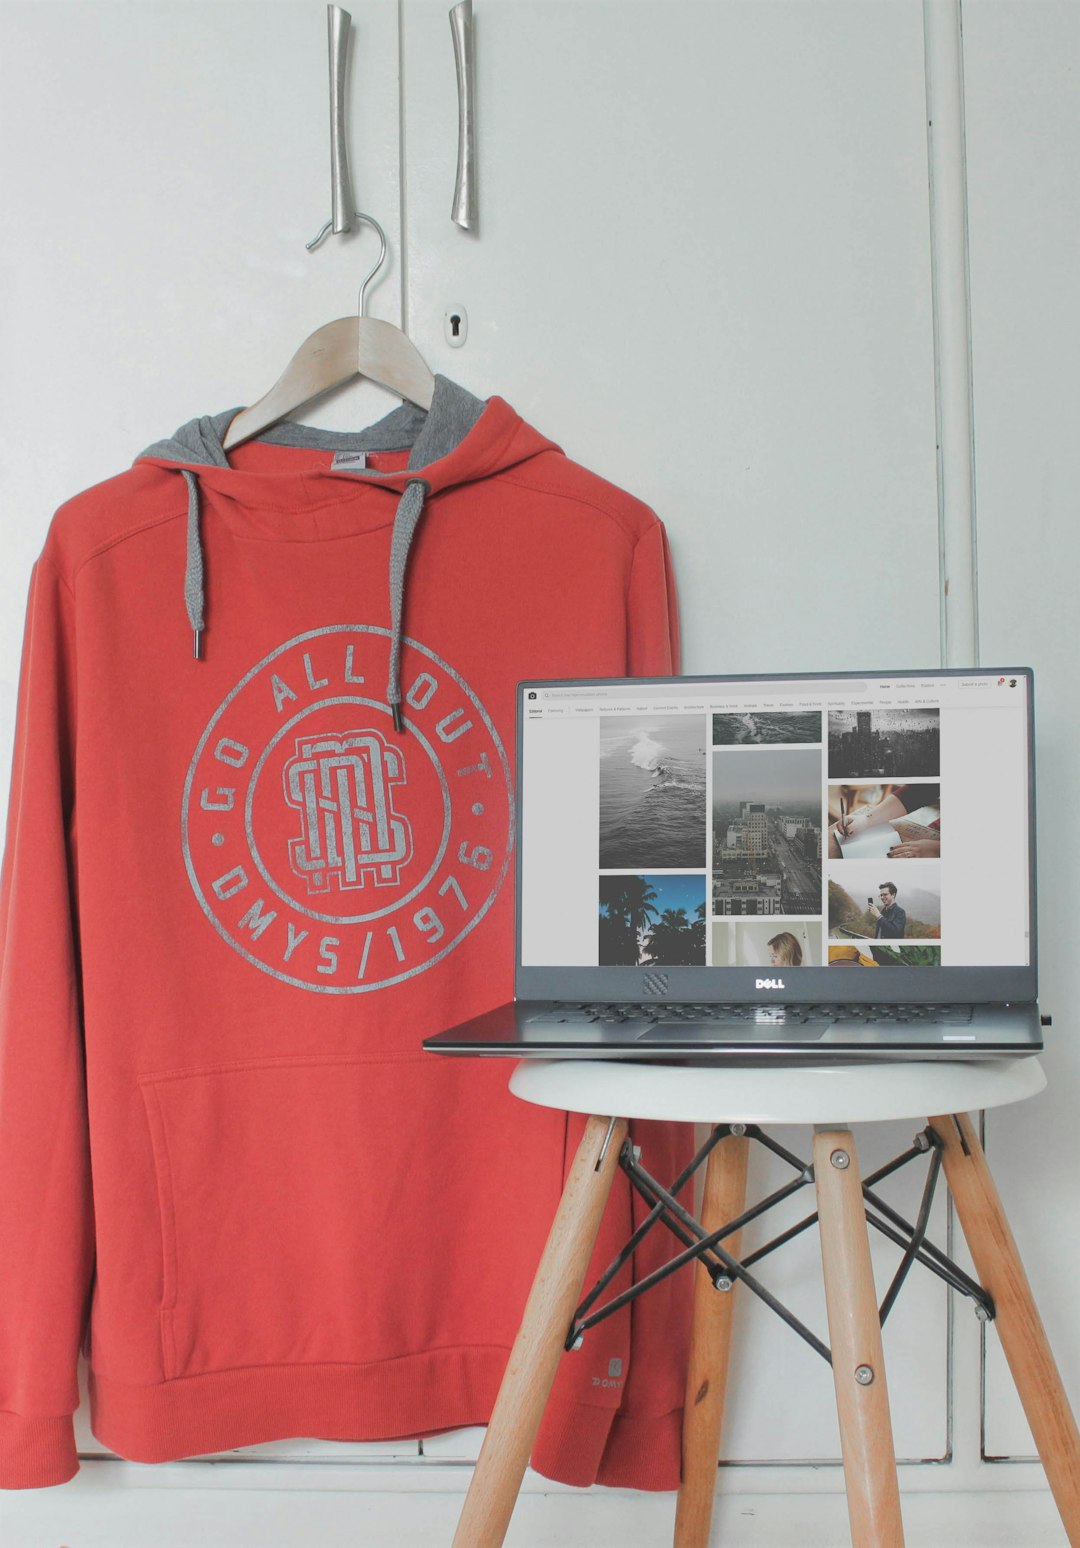
Step 5: Source Royalty-Free Images Quickly
You’re not a photographer, and you don’t have time to browse endless photo sites. Here are some quick resources with searchable, free-to-use stock images:
- Unsplash: High-quality, artistic photos categorized by subject.
- Pexels: Offers both images and videos for multimedia-rich posts.
- Pixabay: Everything from illustrations to vector art, free of copyright concerns.
Most image platforms have integrations with popular design tools, letting you drag and drop stock photos into your templates instantly.
Step 6: Batch Your Image Creation
Even the laziest creators know how to batch. Creating featured images in one go can significantly streamline your blogging routine. Spend one day a week or month preparing images for your upcoming content calendar.
Here’s a lazy batching system:
- Create a content calendar and list of titles.
- Open your featured image template in Canva or Snappa.
- Swap out titles and background images for each blog post.
- Download all images and bulk upload them to your WordPress media library.
It’s fast. It’s efficient. And it keeps you ahead of schedule while still looking good.
Step 7: Check Mobile and Social Previews
Images that look fantastic on desktop can look awful on mobile or when shared on Facebook or Twitter. Tools like Open Graph Checker help you preview how your post will appear on various platforms. WordPress plugins like Yoast also let you set platform-specific images for optimal display.
A quick test can help avoid text being cut off or images displaying incorrectly when shared.
Common Mistakes to Avoid
Even quick image solutions can go wrong if you’re not aware of some common pitfalls:
- Using text-heavy images: These don’t display well in thumbnails or small mobile views.
- Crowded visuals: Keep layouts clean rather than cramming in multiple photos or elements.
- Forgetting ALT text: This helps with accessibility and SEO. Write descriptive ALT text for every featured image.
Conclusion
Creating the perfect featured image doesn’t have to take hours—or even more than a few minutes. It just requires efficient tools, a few automation hacks, and a bit of consistency. Lazy bloggers rejoice: you can now look like a design pro without lifting more than a few clicks.
FAQ: Featured Images in WordPress
- Q: What is a featured image in WordPress?
A featured image is a main image that represents a blog post. It appears on your blog’s homepage, archive pages, and social media shares. - Q: What size should my featured image be?
The recommended size is 1200 x 628 pixels, but this can vary by theme. Always check your theme documentation. - Q: Can I automate featured images in WordPress?
Yes! Plugins like Auto Post Thumbnail and Quick Featured Images can automate or batch-manage featured images for you. - Q: Where can I find free images legally?
Sites like Unsplash, Pexels, and Pixabay offer high-quality, royalty-free images for commercial use. - Q: What should I include in the ALT text for featured images?
Use descriptive, concise text that tells what the image is about—this aids accessibility and SEO. - Q: Should I include text over my image?
Yes, but keep it minimal. Use easy-to-read fonts and maintain legibility across all devices.