Laser engraving and cutting enthusiasts are no strangers to the Sculpfun SF-A9, a precision tool known for its performance and versatility. At the heart of this powerful laser engraver lies the motherboard—its central processing unit that coordinates all the machine’s complex movements and laser operations. But what happens when the Sculpfun SF-A9’s motherboard fails or shows signs of malfunction? The dilemma soon arises: should you attempt a DIY replacement, or is it smarter to let a professional handle the job?
Contents of Post
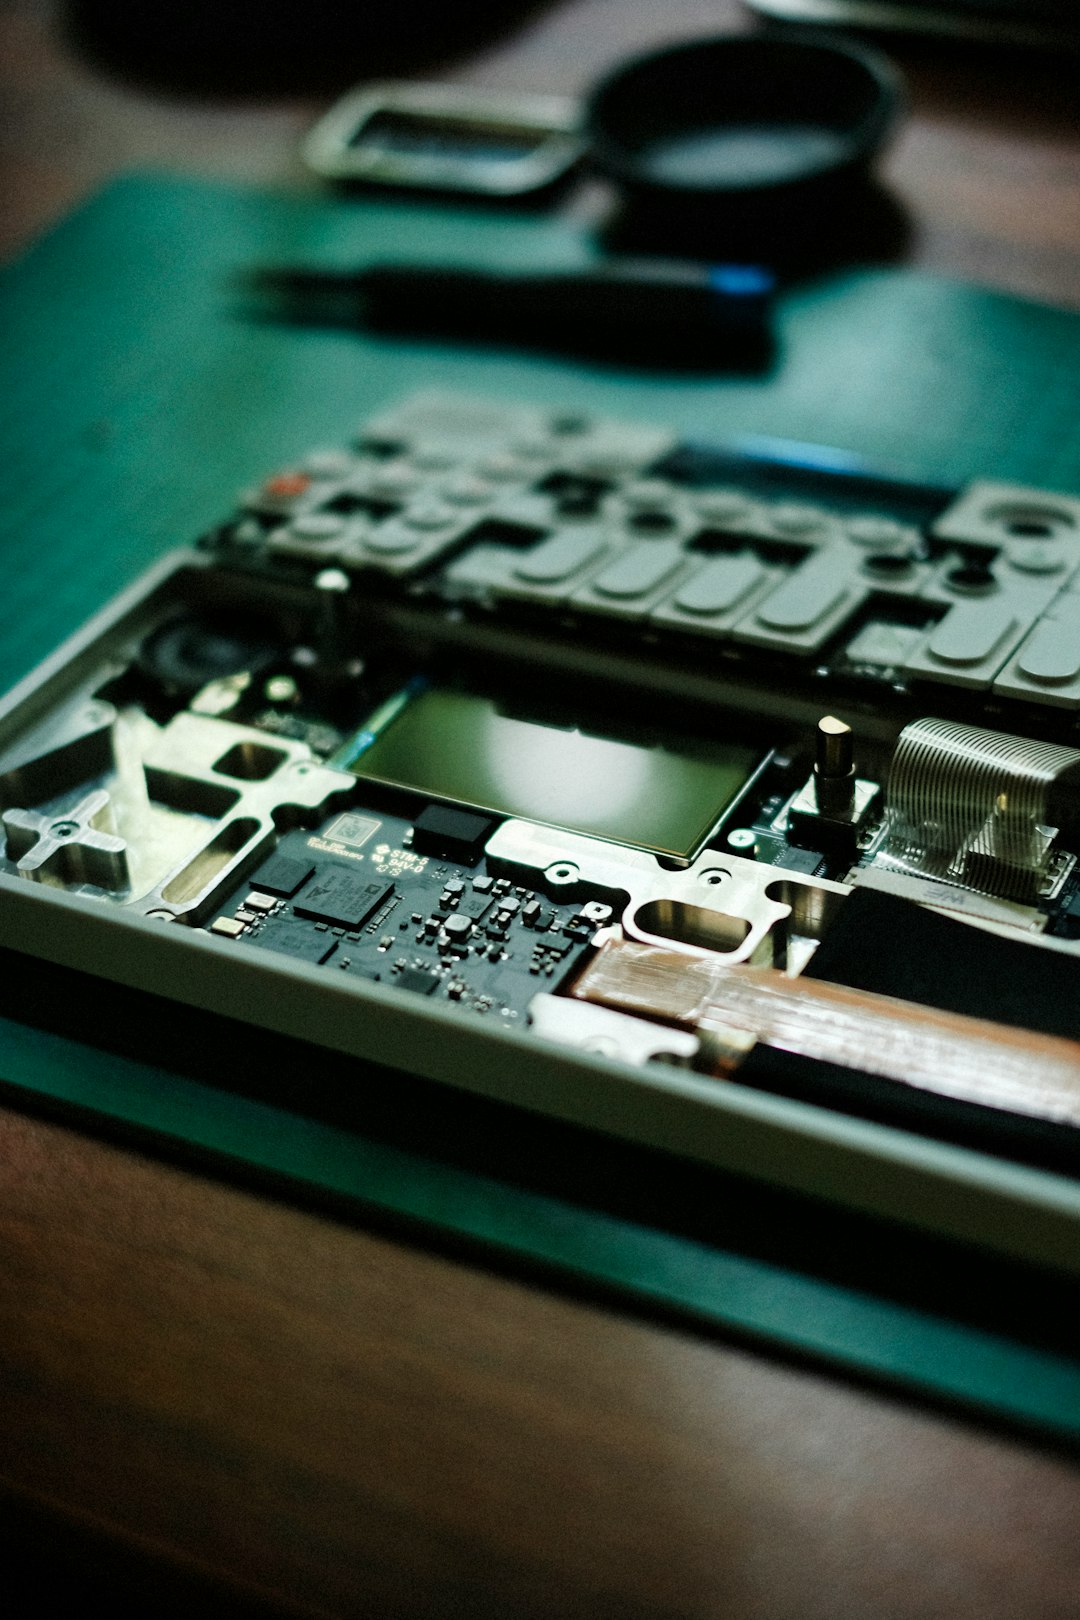
Understanding the Role of the SF-A9 Motherboard
The motherboard in your SF-A9 is essentially its brain. It manages:
- Laser power modulation
- Motor movement and axis calibration
- Communication with software
- Safety checks and error detection
When the motherboard becomes faulty, the machine may stop responding, produce inconsistent cuts or engravings, or fail to connect with your computer entirely. These are clear signs that a replacement may be in order.
Common Reasons for Motherboard Failure
There are several reasons why the motherboard might need replacing:
- Power surges or electrical spikes
- Overheating due to inadequate ventilation
- Physical damage from mishandling
- Wear and tear over prolonged use
Recognizing these early signs can save your machine from further damage. But, before you roll up your sleeves, it’s important to assess whether you’re equipped for the job.
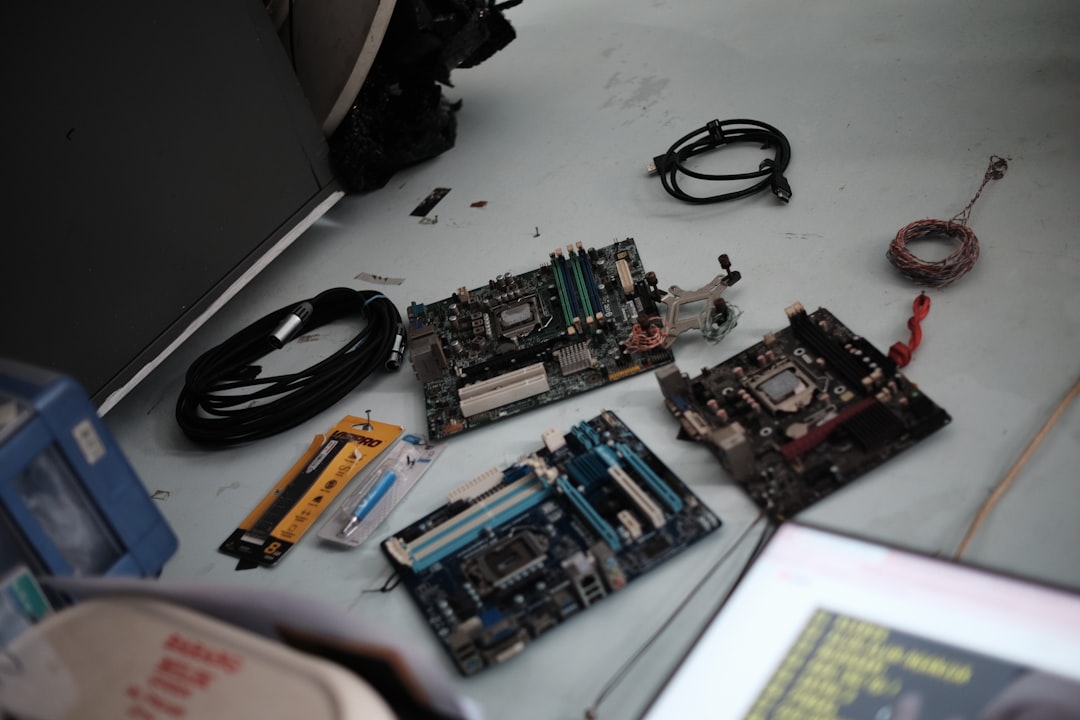
DIY Motherboard Replacement: What You Need to Know
Many hobbyists pride themselves on self-sufficiency and creativity, so replacing the SF-A9 motherboard on your own might seem like a worthwhile challenge. Here’s what the process typically involves:
Tools You’ll Need
- Precision screwdriver set
- Anti-static wrist strap
- Replacement SF-A9 motherboard
- Multimeter (for checking connections)
- Thermal paste or protective elements (if applicable)
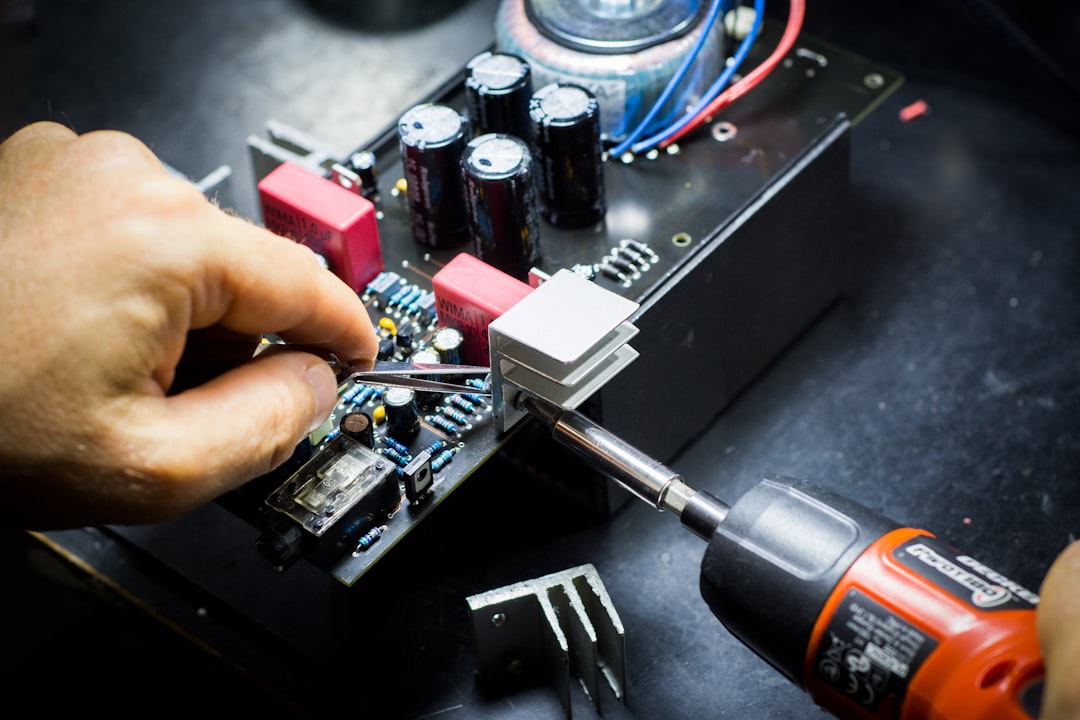
Steps for the DIY Process
- Power Down: Disconnect all power sources to prevent electrical hazards.
- Remove the Cover: Gain access by unscrewing the machine’s casing or control panel.
- Label and Disconnect: Carefully note where each cable connects to the motherboard for reassembly later.
- Unscrew and Remove: Once cables are removed, unscrew the motherboard from its mount.
- Install New Motherboard: Attach the new component, secure it with screws, and reconnect all cables as previously noted.
- Test the Machine: Turn the power back on and verify boot-up and basic functions.
While the process sounds manageable on paper, various complications can arise. Mismatched connectors, static discharge, or incorrect reassembly can further damage your unit.
When to Call a Professional
Not every user feels confident tearing into their high-precision laser machine. Here’s when hiring a professional is a better option:
- You lack technical experience: If you’re unfamiliar with hardware work, the risk outweighs the reward.
- Your machine is under warranty: Opening the unit could void your warranty, whereas certified professionals can preserve it.
- The issue isn’t clearly the motherboard: Sometimes software glitches or sensor failures mimic motherboard problems. A professional can provide an accurate diagnosis.
- You rely on the machine for business: Downtime can cost money. A professional repair ensures faster, more reliable turnaround.
In some cases, professionals may even offer firmware updates or advanced calibration as part of the service, optimizing your machine beyond its original performance.
Cost Comparison: DIY vs. Professional Repair
Budget can be a decisive factor, so let’s break down the likely expenses.
DIY Option
- Replacement motherboard: $30–$60
- Tools (if not already owned): $20–$50
- Time investment: 2–3 hours
Professional Option
- Labor costs: $50–$150 depending on complexity and region
- Replacement motherboard: $30–$60
- Turnaround: 1–5 days
As you can see, DIY may save dollars but at the expense of time and potential risk. Professionals, on the other hand, offer expertise and peace of mind—valuable commodities when precision matters.
Safety Considerations
Whether you go solo or hire help, safety is crucial. Some safety tips include:
- Unplug the machine: Always isolate power sources before you begin.
- Use anti-static equipment: Prevent motherboard damage from static discharge.
- Wear gloves and protective eyewear: Particularly if dealing with sensitive components or soldering elements.
- Double-check connections: Loose or incorrect wires could lead to short circuits or damaged components.
Keep your workspace clean and well-lit to reduce the chance of mistakes.
Tips for Buying a Replacement Motherboard
Not all parts are created equal. When sourcing a replacement, consider the following:
- Get an official or compatible part: Avoid generic boards unless they’re verified to work with the Sculpfun SF-A9.
- Check reviews: Other users’ experiences can guide you away from subpar vendors.
- Look for support documentation: Diagrams, manuals, and videos can make DIY repairs easier.
- Consider warranty: Some third-party boards offer warranty or return policies, just in case.
The Final Verdict: DIY or Pro Job?
So, is Sculpfun SF-A9 motherboard replacement a DIY or professional task? The answer depends on your skill level, budget, and the urgency of repair.
Choose DIY if you are:
- Comfortable with electronics
- Patient and detail-oriented
- Trying to save money
Opt for a professional if you:
- Want guaranteed results
- Depend on your machine for critical work
- Are uncertain about the source of the issue
Ultimately, both options are valid and viable. The key is being honest with your capabilities and choosing the path that ensures a reliable, safe, and timely restoration of your Sculpfun SF-A9’s full functionality.
Whether you’re wielding a screwdriver yourself or placing your trust in a technician’s skilled hands, understanding the implications and procedures can help you make an informed and confident decision.
So, what will you choose for your SF-A9’s next chapter—DIY or pro? The answer lies in your comfort zone and how deep you’re willing to venture into the hardware heart of your laser engraving machine.