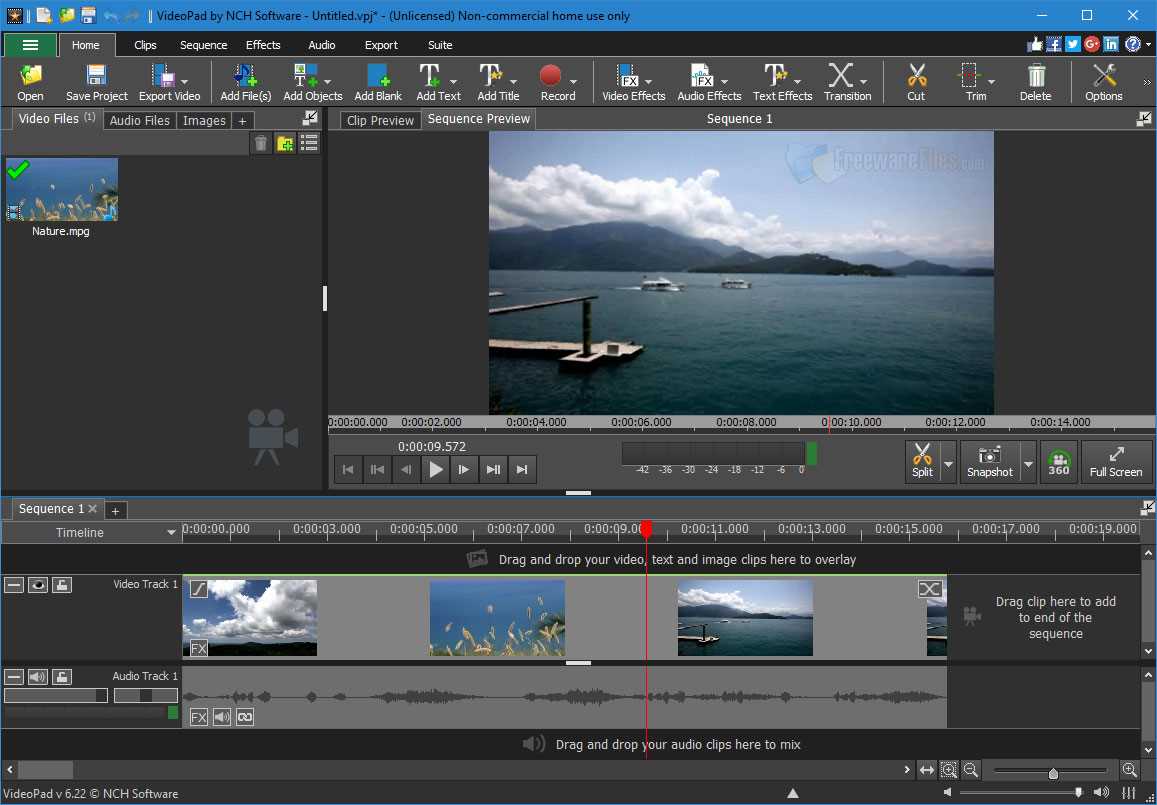
Creating a promo video is one thing. Making it stand out from the crowd? That’s a whole different game. Thankfully, promo video makers are packed with customizable templates ready to help you shine. But how do you take something that’s ready-made and make it uniquely yours? It’s easier than you think!
In this guide, we’ll show you how to customize templates in a promo video maker to match your brand’s voice and style. It’s fun, simple, and totally doable—even if you’ve never edited a video before.
Contents of Post
Why Customize a Template?
Templates are like pre-designed blueprints. They give you structure, design, and flow. But if you use them without tweaking, you risk looking like everyone else.
Here’s why you should customize:
- Stand out – Avoid looking like a copycat.
- Build trust – People love cohesive branding.
- Communicate better – Your message comes through clearly when it matches your brand.
Step 1: Pick the Right Template
Start by browsing the promo video maker’s template gallery. Look for one that fits your goal—are you promoting a sale? Launching a product? Introducing your team?
Pro Tip: Look at the structure, not the colors or fonts. You’ll change those anyway!

Step 2: Add Your Logo
Your logo is like your digital signature. It needs to be visible!
- Most templates have a spot designated for your logo.
- If not, you can upload and drag it anywhere you like.
- Make sure it doesn’t block important visuals or text.
Use a high-quality PNG version of your logo for best results. Blurry logos kill credibility.
Step 3: Change the Color Scheme
Colors say a lot about your brand. A sunny yellow gives off energy. Navy blue tells people you’re reliable. Make your video match your vibe.
Here’s how to customize the colors:
- Go to the template’s color settings.
- Select your brand’s primary and secondary colors.
- Apply them to backgrounds, text, and shapes.
Not sure what your brand colors are? Check your website or logo. They should be consistent!
Step 4: Choose the Right Fonts
Yes, fonts matter. The wrong font can make your message look childish or boring. The right one? Instant professionalism.
Tips for font success:
- Use no more than two fonts in your video.
- Use bold or larger fonts for headlines.
- Keep it readable—no curlicues or squiggly scripts!
Most promo video makers let you upload your own font. If your brand has a custom one, use it!
Step 5: Use Your Own Text
Templates often come with dummy text, like “Your Brand Here” or “Best Product Ever.” Don’t leave those in.
Replace all default text with your own message. Keep it short, punchy, and clear. Each text box should have a purpose.
A good structure might be:
- Headline: What are you announcing?
- Subtitle: Why should people care?
- CTA (Call To Action): What should they do next?
Step 6: Upload Your Photos and Videos
Stock footage looks nice. But when everyone uses the same clips, your video blends into the background. Add your own visuals to show the real you.
Upload:
- Photos of your product
- Clips of your office or team
- Customer testimonials
Bonus tip: Add behind-the-scenes clips. People love seeing how things are made or who’s behind the brand.

Step 7: Add Music That Fits
Music sets the whole mood. Upbeat for a sale, chill for a service intro, quirky for a startup culture vibe.
Music checklist:
- Pick something that reflects your energy.
- Make sure it’s royalty-free, or use music provided by your video maker.
- Lower the volume if you’re talking or using voiceover.
Step 8: Include Your Contact Info
Don’t forget this part! Make it easy for people to reach you.
Include:
- Your website
- Social media handles
- Email address or phone number
Put this info at the end or subtly in the corner throughout the video.
Step 9: Preview and Tweak
Before you hit export, watch the whole video. Twice.
Ask yourself:
- Does everything look on-brand?
- Are there any spelling mistakes?
- Do any parts feel too long or too fast?
If something feels off, tweak it. This is your moment to polish.
Step 10: Export and Share
Once your video looks and sounds perfect, it’s time to download it. Choose the best quality your video maker offers.
Now you can share it on:
- Your website
- Email newsletters
- YouTube
Want a pro hack? Make a few versions of the same video in different sizes. A square version for Instagram. A horizontal one for YouTube. Easy!

Conclusion: Be Bold, Be You
Templates are helpful, but your creativity is what makes your video pop. From the font you pick to the music you choose, every detail counts.
So go ahead—play with the tools, try new color combos, test a fun transition. This is your time to shine in pixels and soundwaves.
Remember: branding isn’t just about logos and colors. It’s about how you make people feel. With just a little tweaking, your promo video can turn heads and win hearts.
Now, get out there and start customizing!

