
If you’ve been playing Destiny 2 for a while, chances are you’ve encountered an error code at some point. One of the most common—and frustrating—ones is Error Code: Bee. Whether you’re deep into a Crucible match or tackling the latest raid with friends, a sudden network hiccup can kick you right out of the game. In this article, we’ll explore what the Bee error is, why it happens, and most importantly, how to fix it.
What is Error Code Bee in Destiny 2?
Error Code Bee is a network-related error that players may receive when their connection to Destiny 2’s servers becomes unstable. Bungie, the developer of Destiny 2, classifies this as a general connectivity issue. It typically manifests as lag, disconnections, or a complete failure to load into online activities. While it’s easy to blame the game servers, most of the time the issue lies somewhere between your console or PC and Bungie’s infrastructure.
Common Causes of Error Code Bee
There are a number of reasons why you may be encountering this error. Here are the most likely culprits:
- ISP Instability: Your internet service provider may be experiencing packet loss or latency issues.
- Home Network Configuration: Wireless setups, outdated routers, or interference can contribute to signal problems.
- Game Server Latency: Bungie’s servers may be under heavy load, especially during major updates or events.
- Port or NAT Issues: Incorrect network settings such as closed ports or strict NAT types can limit game connectivity.
How to Fix the Destiny 2 Bee Error
The good news is, there are steps you can take to reduce the chances of this error occurring. Below is a list of dependable solutions that many players have found effective:
Contents of Post
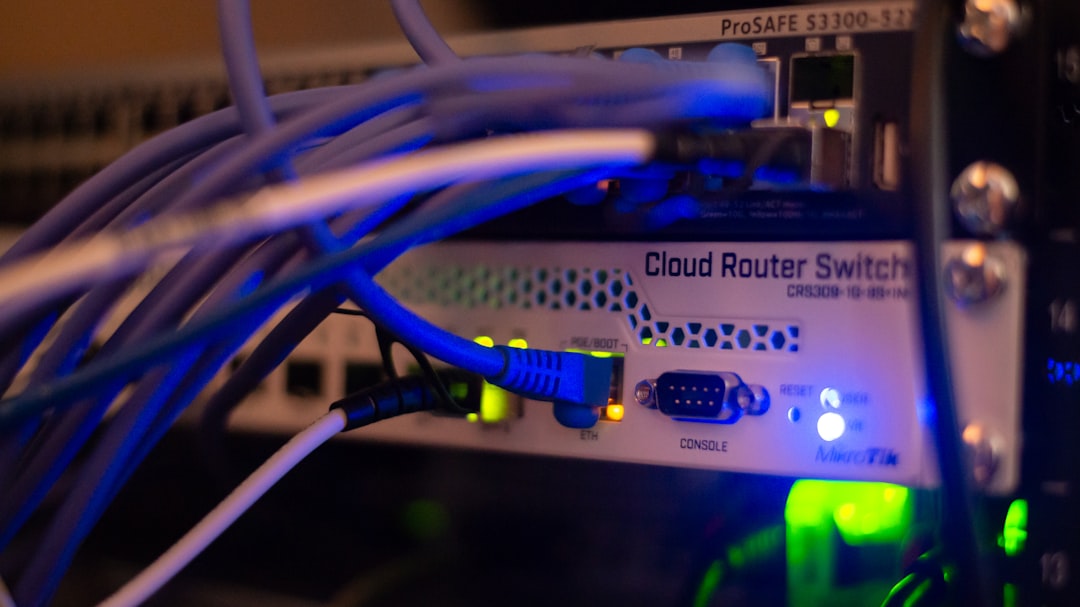
1. Use a Wired Ethernet Connection
While Wi-Fi might be more convenient, it is also more prone to interference and instability. Switching to a wired Ethernet cable connection can significantly improve your experience and reduce packet loss.
2. Restart Modem and Router
Sometimes, simply rebooting your network equipment can resolve minor connectivity issues. Turn off your modem and router for at least 30 seconds before restarting them. Once back online, check if your connection improves.
3. Check for ISP Outages or Throttling
Visit your ISP’s official status page or social media accounts to check for reported problems in your area. If your connection has been unusually slow, you might also be experiencing throttling during peak hours. Contact your provider for more info.
4. Change Your NAT Type to Open
Destiny 2 needs certain ports to be open in order to maintain a stable connection. Ensure you have an Open NAT type, especially if you’re playing on console. This can be achieved by enabling UPnP (Universal Plug and Play) in your router settings or manually forwarding the necessary ports:
- TCP: 7500-17899, 30000-40399
- UDP: 3074, 3097
Consult your router’s user manual or search online for a guide specific to your device model.
5. Disable Background Applications
If you’re gaming on a PC, make sure to close applications that might be using bandwidth, such as streaming services, file downloads, or VPN software. These can eat up bandwidth and cause disconnections.
6. Test Your Connection Speed
Use tools like Speedtest.net to verify that you’re getting the speeds promised by your ISP. You’ll want a minimum of 3 Mbps upload and 1 Mbps download speed for Destiny 2, but faster is always better.
7. Contact Bungie Support
If you’ve tried everything else and still experience the Bee error regularly, it may be time to reach out to Bungie Support. They can further investigate the root of your issue and let you know if it’s part of a broader problem.
Final Thoughts
Destiny 2 is a spectacular online experience, but like all multiplayer games, it’s only as good as the stability of your connection. Error Code Bee can put a damper on your gameplay, but with the right steps, it’s usually possible to resolve the issue and get back to grinding Light levels or raiding with your clan.
Stay vigilant with your network settings, keep your hardware updated, and don’t forget—sometimes the solution is as simple as swapping a Wi-Fi connection for an Ethernet cable. May your Guardian always stay connected!