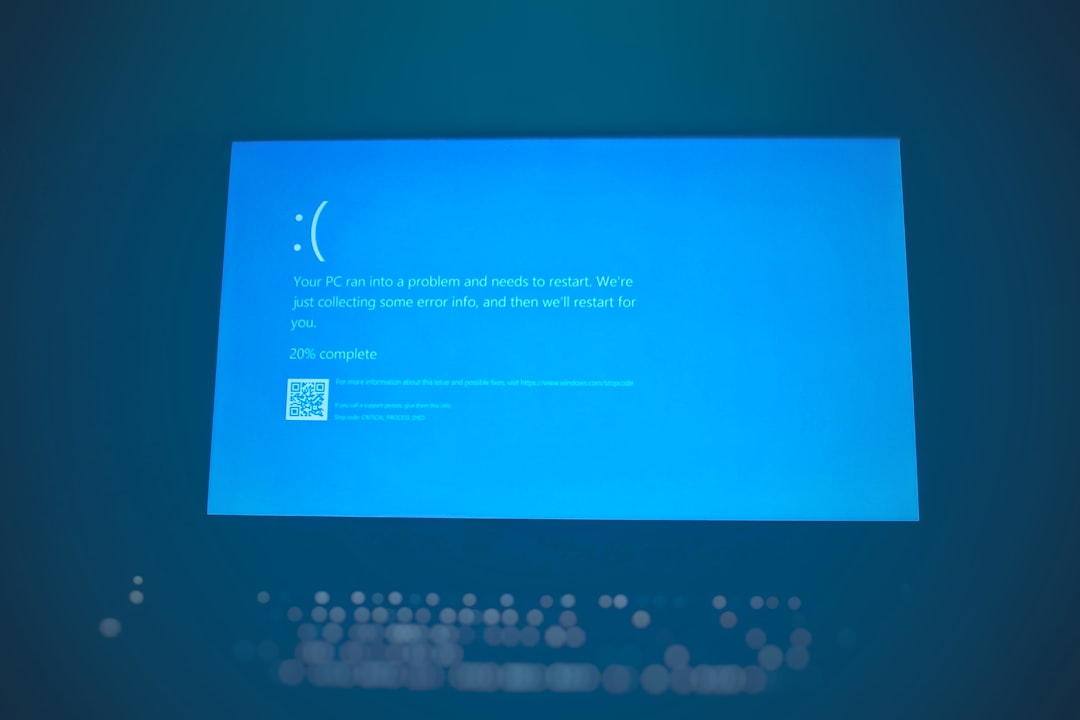
Ever tried plugging in a device and Windows shouts back with a cryptic “Error Code 22: This Device Is Disabled”? Don’t worry—it’s not the end of the world or your computer. It’s one of the simplest device manager codes to fix.
This article will walk you through fun, quick, and effective steps to get your hardware back in action. Whether it’s a sound card, a USB stick, or your network adapter, we’ve got you covered. Let’s dive in!
Contents of Post
🔍 What Even Is Error Code 22?
This error typically pops up inside the Device Manager. It means that Windows knows the device exists, but it’s not turned on. You—or some uninvited program—might have disabled it manually.
You’ll usually see the message:
“Windows has disabled this device because it reported problems. (Code 22)”
Luckily, the solution is usually just a click or two away.

🛠 How to Fix It
Put on your metaphorical repair hat! Here are the best ways to turn things back on:
1. Use Device Manager To Re-Enable It
This is the fastest fix—and it works most of the time.
- Right-click the Start Menu and select Device Manager.
- Find the problematic device (usually has a little arrow next to it).
- Right-click it and choose “Enable device.”
- Done! Now check if the device is working.
Still not seeing it? Try restarting your computer after enabling the device.
2. Update the Driver
Sometimes drivers are like grumpy cats—they don’t want to work unless they’re up-to-date.
- Open Device Manager.
- Right-click the disabled device.
- Select “Update driver.”
- Choose “Search automatically for updated driver.”
If it finds a new version, install it and restart. This can magically solve many device issues.
3. Roll Back Driver
Updated a driver and then things suddenly broke? That can happen!
- Open Device Manager.
- Right-click the device and go into Properties.
- Click the Driver tab.
- Hit “Roll Back Driver.”
Now check if it’s back to working order.
4. Check Device Conflicts
This is a little more advanced, but sometimes other devices are hogging the same resources.
- Open Device Manager.
- Right-click the device and select Properties.
- Go to the Resources tab (if available).
- Check for “Conflicting device list.”
If something is listed there, try disabling another device that’s not critical to see if it resolves the issue.
5. Use Windows Troubleshooter
Surprise! Occasionally, Windows actually helps!
- Go to Settings → Update & Security → Troubleshoot.
- Click Additional troubleshooters.
- Select the one related to your device. For example, “Playing audio” if it’s a sound card.
- Let Windows do its thing.
This works great if you’re not sure what caused the Issue.
🔌 Bonus Tips for Specific Devices
Some gadgets need a little extra love. Here are extra tricks for common culprits:
🖱 USB Device
- Try unplugging and plugging it back in (classic move, and yes—it works).
- Use a different USB port (some may be faulty).
- Restart the computer with the USB already connected.
🎧 Audio Device
- Make sure no conflicting software (like audio managers) is running.
- Check that it’s set as the default playback device.
- Update or reinstall audio drivers from the manufacturer site if needed.
📶 Network Adapter
- Disable and re-enable using Device Manager.
- Use the Network Reset feature in Windows settings.
- Make sure airplane mode isn’t blocking things.

🧹 Clean Up: Uninstall + Reinstall
If all else fails, give that device the “rebirth” treatment.
- Open Device Manager.
- Right-click the naughty device, then choose Uninstall.
- Check the box for “Delete the driver software for this device” if you want a clean reset.
- Restart your PC. Windows will try to reinstall it automatically.
If Windows doesn’t reinstall it, you can fill in by downloading the driver from the manufacturer’s website manually.
🏁 Still Not Working?
Okay—so you’ve tried everything and it’s still being stubborn?
Don’t give up yet. Try these steps:
- Make sure Windows is fully updated.
- Use “System Restore” to go back to a time when it was working.
- Check for firmware (BIOS) updates if the device is built-in like a GPU or sound card.
📋 Recap: Quick Fix Checklist
Here’s your superhero checklist to combat Error Code 22 like a pro:
- Enable the Device in Device Manager
- Update or Roll Back Driver
- Run Troubleshooter
- Check for Conflicts
- Unplug and Try Other Ports
- Uninstall and Reinstall Device
- Roll Back Windows Update (if the issue just started)
🏆 Pro Tip: Keep Things Updated
Sometimes, a simple update can save you hours of headache.
Use tools like:
- Windows Update
- Driver Booster or Snappy Driver Installer
- Manufacturer driver tools (like Intel, Realtek, AMD)
Set a reminder to check for updates every month. Your computer will thank you.
🎉 Problem Solved!
Your device is probably back in action now. Error Code 22 is easy to fix once you know what it means and where to look.
So next time Windows throws shade with an intimidating error code—smile, go to Device Manager, and bring your favorite gadgets back to life.
Happy fixing!

