Microsoft Word is widely known as a word processor, but it also includes a surprisingly useful set of image editing tools. If you have ever inserted a photo, screenshot, logo, or illustration into a document and wished you could trim away unwanted edges, focus on a specific subject, or fit the picture neatly into a layout, Word’s Crop feature can help. You do not need to open a separate graphics program for basic cropping, and with a little practice, you can make images look cleaner and more professional directly inside your document.
TLDR: To crop a picture in Word, select the image, go to the Picture Format tab, click Crop, and drag the black crop handles to remove unwanted areas. Press Enter or click outside the image when you are done. You can also crop to a specific shape, aspect ratio, or fill a frame for a more polished design.
Contents of Post
Why Crop Pictures in Word?
Cropping is one of the simplest ways to improve the appearance of an image. It removes distractions, changes the composition, and helps the visual fit better with surrounding text. For example, if you insert a screenshot that includes too much empty space, cropping can make the important part easier to see. If you include a photo in a report, cropping can draw attention to the person, product, building, or detail that matters most.
Word’s cropping tools are especially useful because they work non-destructively while you are editing the document. In most cases, Word keeps the hidden parts of the image unless you choose to compress or remove cropped areas later. That means you can adjust the crop again if you change your mind.
How to Crop a Picture in Word: The Basic Method
The quickest way to crop a picture in Word is through the Picture Format tab. This tab appears only when an image is selected, so if you do not see it, click the picture first.
- Insert or select your picture. If the image is already in your document, click it once. If not, go to Insert > Pictures and choose an image from your device, stock images, or online sources depending on your version of Word.
- Open the Picture Format tab. Once the image is selected, Word displays the Picture Format tab on the ribbon.
- Click Crop. In the Size group, click the Crop button. Black crop handles will appear around the image.
- Drag the black crop handles. Pull the handles inward from the sides, corners, top, or bottom to hide the parts of the image you do not want.
- Finish the crop. Press Enter, click the Crop button again, or click anywhere outside the image.
The key detail to remember is that the black crop handles are for cropping, while the white corner and side handles are for resizing. If you drag the wrong handles, you may shrink or stretch the picture instead of trimming it.
Understanding Crop Handles
When crop mode is active, Word displays thick black marks around the picture. Each type of handle behaves slightly differently:
- Side handles crop from the left, right, top, or bottom edge.
- Corner handles crop two edges at once, such as the top and left edges together.
- The picture itself can be moved inside the crop frame by clicking and dragging the image while crop mode is active.
This last point is particularly helpful. Suppose you crop a photo into a narrow rectangle but the subject is no longer centered. You do not need to undo everything. Instead, keep crop mode active, drag the image within the frame, and position the subject where you want it.
How to Crop to a Specific Shape
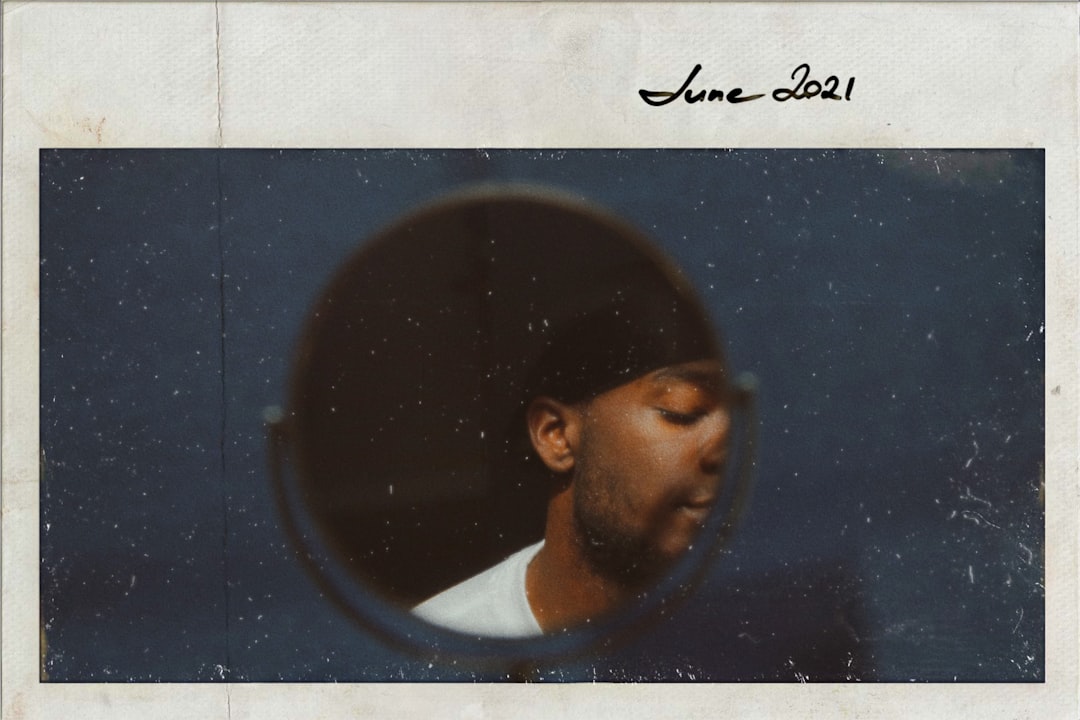
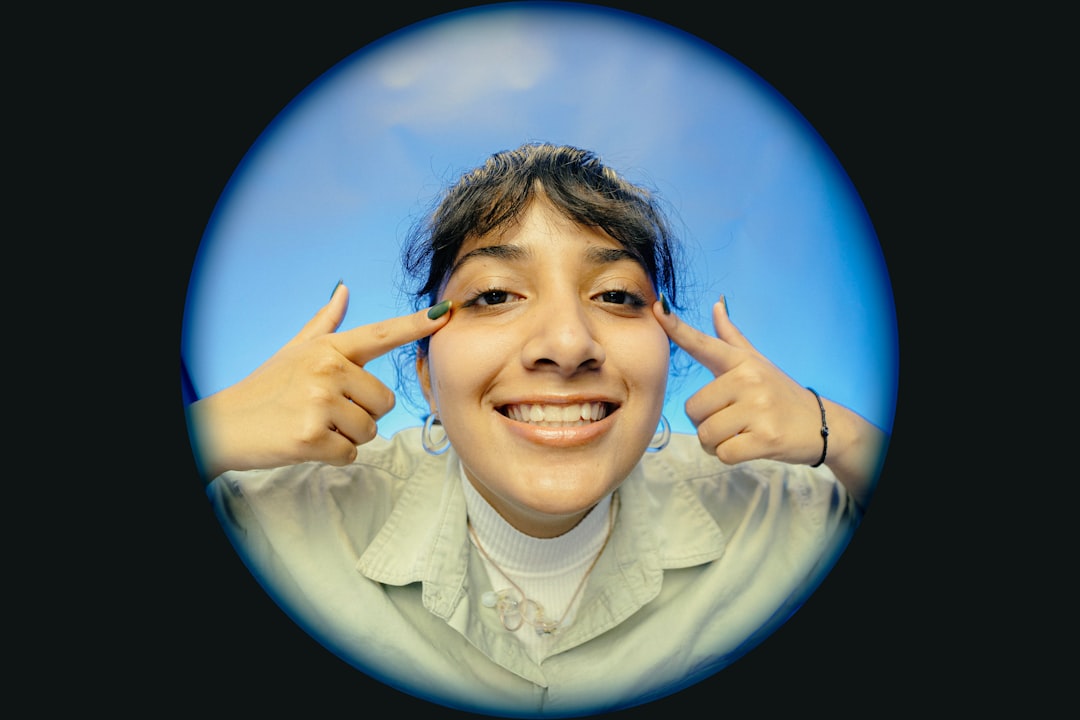
Word also lets you crop an image into shapes such as circles, arrows, stars, speech bubbles, and rounded rectangles. This is useful for newsletters, invitations, school projects, business proposals, and presentation-style documents. A portrait cropped into a circle, for instance, often looks cleaner and more modern than a standard rectangular photo.
To crop a picture to a shape:
- Select the picture.
- Go to Picture Format.
- Click the arrow under Crop.
- Choose Crop to Shape.
- Select the shape you want from the gallery.
After choosing a shape, you can still adjust the crop. Click Crop again, then resize or reposition the image inside the shape. For a perfect circle, it is best to start with a square image or use the Aspect Ratio option to make the crop area square before selecting an oval shape.
Using Aspect Ratio for Perfect Proportions
If you need a picture to fit a specific space, the Aspect Ratio option is one of Word’s most useful cropping tools. Aspect ratio refers to the relationship between an image’s width and height. Common examples include square, portrait, landscape, widescreen, and standard photo proportions.
To crop by aspect ratio:
- Select the image.
- Open Picture Format.
- Click the arrow under Crop.
- Choose Aspect Ratio.
- Select a ratio such as 1:1, 4:3, 16:9, or another available option.
After selecting an aspect ratio, Word applies a crop frame with those proportions. You can drag the crop box or move the image inside it until the composition looks right. This option is excellent when you want several images in a document to appear consistent, such as team member photos, product images, or portfolio samples.
Crop with Fill and Fit
Under the Crop menu, you may also notice Fill and Fit. These two options are similar but serve different purposes.
- Fill makes the image completely fill the selected area. Some parts may be cropped out, but no empty space remains.
- Fit makes the entire image visible inside the selected area. This may leave empty space if the image proportions do not match the frame.
Use Fill when visual impact matters and you want the image to cover the full frame, such as in a header, flyer, or cover page. Use Fit when showing the entire image is more important than filling every bit of space, such as with diagrams, charts, screenshots, or product photos where missing details could be a problem.
How to Crop a Screenshot in Word
Screenshots often include unnecessary areas, such as browser tabs, large margins, taskbars, or unrelated windows. Cropping them in Word can make instructions clearer and easier to follow.
After inserting a screenshot, select it and use the standard Crop command. Drag the black handles inward until only the important interface element remains. If the screenshot contains small text, avoid cropping too tightly and then enlarging it too much, as this can make the image look blurry. Instead, try to start with a high-resolution screenshot whenever possible.
For tutorial documents, cropped screenshots are especially valuable because they help readers focus on the exact button, menu, or setting being discussed. You can combine cropping with arrows, callouts, or text boxes to create clear step-by-step instructions.

How to Reset or Change a Crop
One of the advantages of cropping in Word is flexibility. If you decide that you cropped too much, you can often bring the hidden parts back.
To adjust an existing crop, select the image and click Crop again. The hidden areas may appear faintly outside the crop boundary, allowing you to drag the crop handles outward or reposition the image. When the picture looks right, press Enter or click away.
If you want to restore the picture completely, select it, go to Picture Format, click Reset Picture, and choose the reset option available in your version of Word. Be careful, though: resetting may also remove other formatting changes such as color corrections, effects, or resizing.
Removing Cropped Areas to Reduce File Size
By default, Word may keep cropped-out portions of an image in the document. This is convenient for editing, but it can increase file size. If your document contains many large photos, the file may become slow to open, difficult to email, or awkward to share.
To permanently remove cropped areas, use Word’s image compression feature:
- Select a picture in the document.
- Go to Picture Format.
- Click Compress Pictures.
- Check the option to Delete cropped areas of pictures.
- Choose whether to apply the setting to only the selected picture or all pictures in the document.
- Select a resolution that suits your purpose, then click OK.
Only do this when you are confident you will not need to restore the cropped areas later. For important documents, it is wise to save a separate copy before compressing images.
Tips for Better Cropping
Good cropping is not just a technical task; it is also a design choice. A thoughtful crop can make an ordinary picture feel more intentional and engaging.
- Keep the subject clear. Remove clutter, but avoid cutting too close to important details.
- Watch the edges. Check that no awkward fragments, half-visible objects, or distracting lines remain near the border.
- Use consistent proportions. If several photos appear together, matching their aspect ratios can make the page look organized.
- Avoid overcropping. Leaving a little breathing room can make an image feel more balanced.
- Consider text wrapping. After cropping, adjust Wrap Text settings so the picture fits naturally with your paragraphs.
Common Cropping Problems and Fixes
If the Picture Format tab does not appear, make sure you have selected the image and not the surrounding text. If the image will not move properly, check its text wrapping setting. Pictures set to In Line with Text behave like large characters, while options such as Square, Tight, or Behind Text allow more flexible positioning.
If your crop looks blurry, the original image may be too small. Cropping removes visible area, and enlarging the remaining portion can reduce quality. Use a larger source image when possible. If your image is distorted, you may have resized it unevenly. Hold Shift while resizing from a corner in some versions of Word, or use the size controls to preserve proportions.
Final Thoughts
Cropping a picture in Word is quick, practical, and more powerful than many users realize. Whether you are preparing a business report, school assignment, résumé, flyer, manual, or newsletter, the crop tools can help you create cleaner layouts and more focused visuals. With options like Crop to Shape, Aspect Ratio, Fill, and Fit, Word gives you enough control to handle most everyday image editing tasks without leaving the document.
The next time an image feels too large, too cluttered, or slightly off-center, do not settle for a messy layout. Select the picture, open the crop tool, and refine it until it supports your message. A small crop can make a big difference in how polished and readable your Word document feels.