
Do you want to create beautiful, fluffy clouds in Photopea but only have a mouse and no fancy graphics tablet? Don’t worry! Making realistic clouds is easier than you think—and yes, it can even be fun. Let’s break it down into a few simple steps so anyone can do it, even if it’s your first time using Photopea.
Contents of Post
TL;DR
You can make realistic clouds in Photopea using just a mouse by smartly layering brushes, playing with opacity, and using blending modes. Start with a sky background, use a soft round brush, and dab in your cloud shapes. Smudge, blur, and erase carefully to get the fluff right. It’s all about layering and patience!
Getting Started: What You’ll Need
- Access to Photopea (it’s free online!)
- A mouse (yes, just a regular one!)
- Some imagination and patience
Step 1: Set Up Your Canvas
Open Photopea at photopea.com.
- Click on File → New.
- Set your canvas size to something like 1280×720 pixels (HD size works great).
- Click Create.
This will be your sky where the clouds will float!
Step 2: Add a Sky Background
You can make your own gradient or add a sky photo.
Option A: Use the gradient tool.
- Select the Gradient Tool (press G).
- Pick a light blue to darker blue vertical gradient.
- Drag from top to bottom to create a simple sky.
Option B: Use an image.
- Go to File → Open & Place and choose a stock image of a clear sky.
- Resize it to fit the canvas using the transform handles.
You now have the perfect base for your clouds.
Step 3: Choose the Right Brush
Now comes the fun part—making the clouds!
Click on the Brush Tool (press B). At the top, click the brush settings menu.
- Choose the Soft Round Brush.
- Set Size to around 150px (you can change it later).
- Set Hardness to 0% (we want soft edges).
- Lower Opacity to about 30%-50%.
Pick a white or very pale gray color for painting. You’re now ready to make clouds!
Step 4: Paint the Clouds
This is where you start building the shape.
- On a new layer, start dabbing the brush gently.
- Use short clicks and build shape slowly by layering.
- Avoid dragging the mouse—just dab!
Think of clouds as made of different blobs. Don’t try to paint the whole thing in one go.
Step 5: Use Smudge and Blur for Realism
Now take those blobs and turn them into real-looking clouds.
Smudge Tool:
- Right-click the Blur Tool in the toolbar and choose Smudge Tool.
- Lower the strength to around 20%-30%.
- Use it to gently push some edges out and shape puffy textures.
Blur Tool:
- Use this to soften the edges of the clouds even more.
- Especially useful around the bottom of the cloud to give that floaty feeling.
Don’t worry if it looks weird at first. Keep adjusting!
Step 6: Erase Where Needed
Sometimes, less is more. Use the Eraser Tool (press E) to shape your clouds.
- Use the same soft round brush as the eraser.
- Lower opacity and erase gently.
- This adds depth and makes certain parts of the cloud brighter.
This part is all about tweaking. Think about how actual clouds look—random, soft, not perfect.
Step 7: Add Highlights and Depth
Want your clouds to really pop? Add a little sunlight glow!
- Create a new layer on top of your cloud layer.
- Use a very soft white brush with a lower size (maybe 80px).
- Dab a few bright spots on the middle or top of your clouds.
- Change blend mode to Overlay or Soft Light.
This gives the illusion of light hitting the cloud!

Step 8: Add Finishing Touches
Here’s where you fine-tune.
- Lower the opacity of your cloud layer slightly if it feels too strong.
- Duplicate it for a fuller cloud effect.
- Use multiple layers if you want cloud groups at different distances.
You can also apply a light Gaussian Blur from Filter → Blur → Gaussian Blur to soften everything off even more.
Tips & Tricks
- Zoom In & Out: Use Ctrl + / Ctrl – to zoom for details.
- Mess with Opacity: Play with it to get soft transitions.
- Use Multiple Whites: Some parts of clouds are brighter.
- Look at Real Clouds: Pull up a photo for guidance.
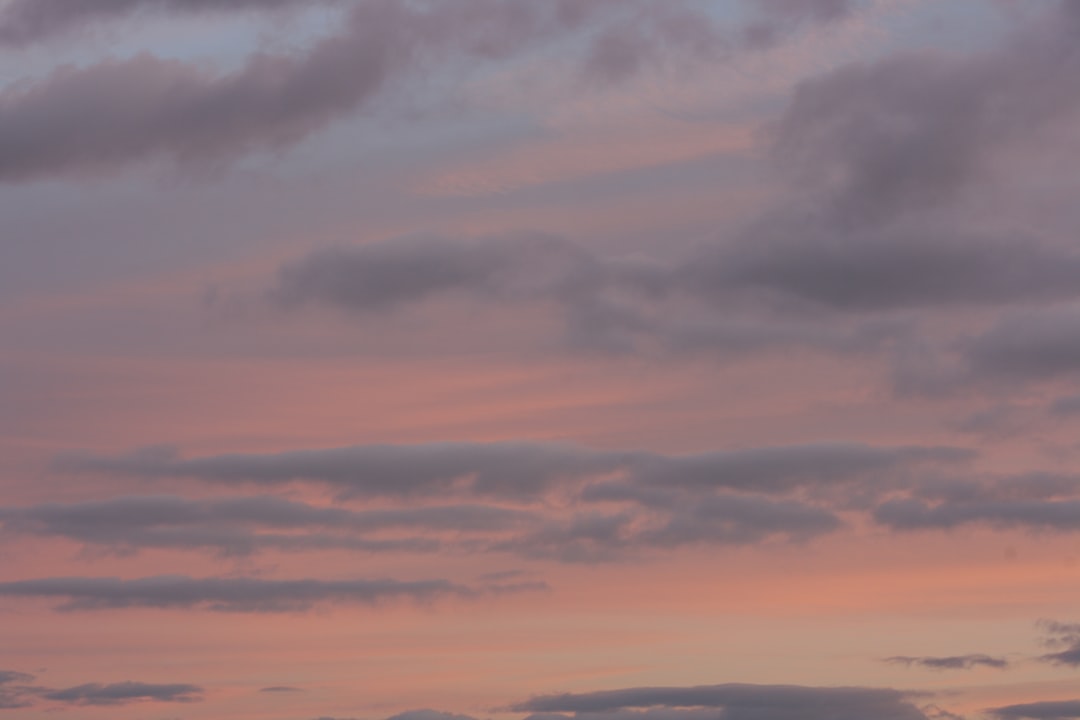
Bonus: Add Colored Clouds for Sunset Effects
Set the mood with some color using these steps:
- Create a new layer above the clouds and set blend mode to Color.
- Choose pinks, oranges, or purples for sunset vibes.
- Use a big soft brush and gently wash color over the clouds.
That’s It! You’ve Made Realistic Clouds
Wasn’t that cool? Even with just a mouse, you’ve created something fluffy and dreamy.
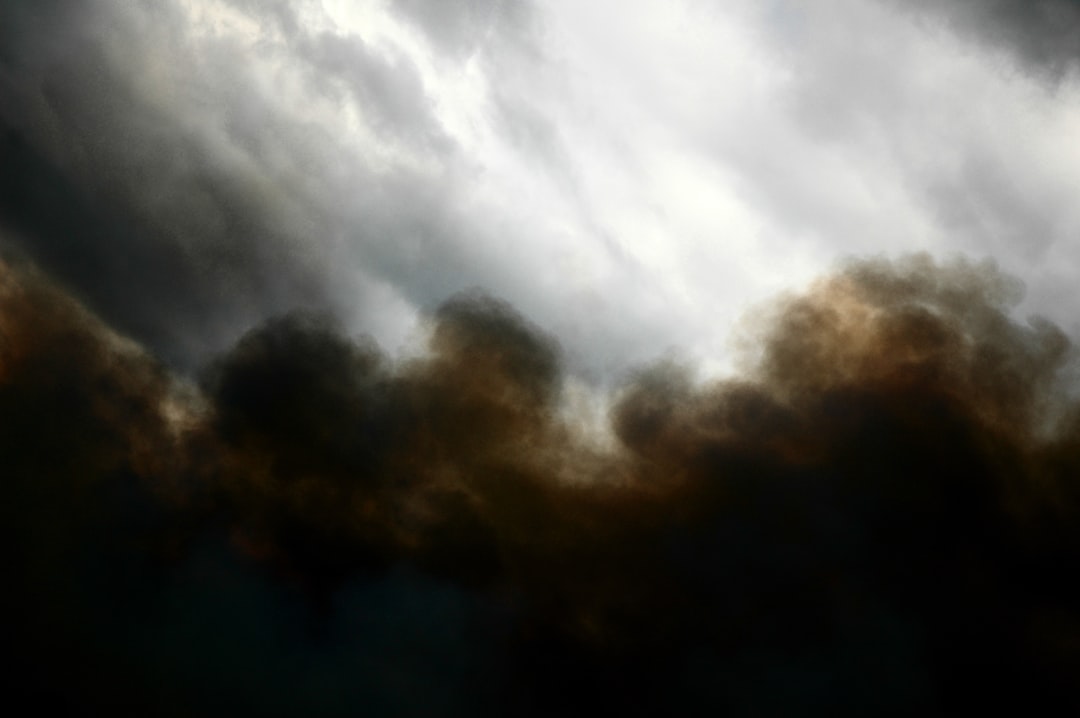
The key is layering, using soft tools, and not rushing. Clouds aren’t sharp or perfect—they’re random and soft. Have fun with it. Keep practicing, and soon you’ll be making full dramatic skies with storm clouds, sunsets, or misty fog.
Remember: Even pro artists started with simple tools like a mouse. Your creativity is the real magic!