Creating a custom reference map can be an exciting and rewarding project. Whether you’re a student working on a school project, a traveler documenting your journeys, or a hobbyist who enjoys geography and design, this guide will take you through the process step by step. Even if you’re a beginner with no prior experience, you can create a visually appealing and informative reference map with just a few tools and a bit of creativity.
Contents of Post
What is a Reference Map?
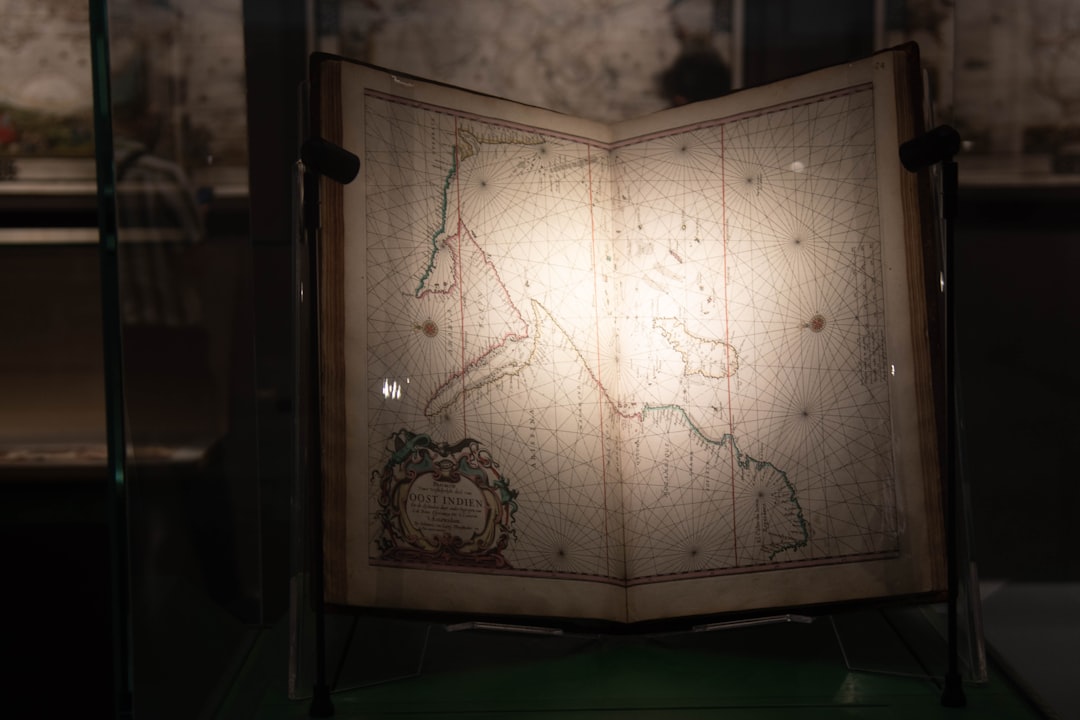
A reference map is designed to show the general geographic features of an area. These maps typically include elements such as roads, rivers, cities, landmarks, mountains, and political boundaries. The goal of a reference map is to help the viewer locate and identify different physical and human-made features.
Why Create a Custom Reference Map?
There are many reasons you might want to create your own map:
- Personalized travel map: Track your travels or plan a future trip.
- Educational purposes: Illustrate your learning or teach others.
- Thematic projects: Show population density, natural resources, or historical events.
- Decorative art: Maps can be beautiful and meaningful pieces of decor.
Step-by-Step Instructions
Follow these simple steps to create your very own custom reference map.
1. Define the Purpose and Scope
Before starting, ask yourself:
- What area do I want to map? (City, country, region, or the whole world?)
- Which features do I want to include? (Rivers, roads, elevation, boundaries?)
- Who is the map for—me, my class, the public?
This information will guide the rest of your design decisions. Try to keep the scope manageable, especially if this is your first map.
2. Gather Your Tools
You don’t need expensive software to get started. Here are a few popular tools and materials:
- Digital Mapping Tools:
- Google My Maps – Online tool for creating custom maps using Google data.
- QGIS – Powerful open-source geographic information system (best for advanced users).
- Inkarnate or Wonderdraft – Great for artistic-style maps.
- Physical Tools: Paper, pencils, rulers, and colored pens for hand-drawn maps.
We’ll continue this tutorial with a focus on using Google My Maps, which is beginner-friendly and requires no installation.
3. Start a New Map
To create a map in Google My Maps:
- Go to Google My Maps.
- Click on “Create a New Map.”
- Give your map a title and description that represents its theme.
Your map canvas will open, showing a standard Google map. This is your workspace.
4. Choose Your Base Map
Google My Maps allows you to select from various base map styles. Click on the map’s “Base map” option and choose from:
- Map: Standard road map
- Satellite: High-resolution imagery
- Terrain: Shows elevation and physical geography
- Custom: Build your own with overlays
Select the one that fits your purpose best. For a detailed reference map, the Terrain or Map style often works well.
5. Add Layers and Features
Layers help organize your information. Click on “Add Layer” to create different categories like:
- Cities and Towns
- Rivers and Lakes
- Roadways and Railways
- Natural Features
To add features:
- Click the marker tool to add a new point (location).
- Select the line tool to draw roads, paths, or boundaries.
- Use color codes and shapes to differentiate features.
Each element you add can be customized with a description, photo, or even a link.
6. Label Your Features
Accurate labeling is key to a good reference map. Include place names, physical features, and legend explanations. Google My Maps allows you to add labels directly to your points and lines, so every element is clear.
Be consistent with your naming conventions: if you write “Mt. Everest” in one place, avoid writing “Mount Everest” elsewhere.
7. Customize Appearance
Make your map visually appealing and easy to read by customizing styles. You can:
- Use specific icons for different places (e.g., tents for campsites, stars for cities).
- Select contrasting colors for different map elements.
- Create a map key or legend to explain symbols and colors.
8. Review and Edit
Once your base elements are in place, take some time to review your map:
- Is everything correctly placed?
- Have you accidentally missed key features?
- Is the map legible at different zoom levels?
- Does it serve its intended purpose?
You can always go back and tweak your layers, icons, and descriptions.
9. Share or Export Your Map
After completing your custom reference map, it’s time to share it. Google My Maps allows you to:
- Share: Generate a link or invite others via email with viewing or editing rights.
- Embed: Add the map to your blog or website using an embed code.
- Export: Download it as a KMZ file for use in other GIS applications.
10. Optional Touch-ups in Graphic Software
If you’re aiming to print or present your map with a professional look, consider exporting a screenshot or image and refining it using tools like:
- Canva
- Adobe Illustrator
- GIMP (Free)
Here you can enhance typography, add creative elements, or create decorative borders.
Tips for Beginners
- Start small: Pick a city or small region for your first map.
- Be organized: Using layers thoughtfully saves time and helps keep your map functional.
- Learn from examples: Look at professionally made reference maps to understand layout techniques.
Resources for Further Learning
Final Thoughts
Creating a custom reference map is both an art and a science. It allows you to combine geographical accuracy with creative design, resulting in a project that’s informative, personal, and visually striking. Whether digital or hand-drawn, your map is a reflection of your vision and purpose. So dive in, explore, and enjoy the rewarding process of map-making!