Setting up a FlashLabel printer on your Mac can seem daunting at first, especially if you’re not familiar with printer driver installation or macOS system preferences. Whether you’re using the printer for office shipping labels, e-commerce purposes, or personal organization, ensuring a correct and seamless installation process is critical for achieving consistently high-quality prints and reliable operations.
This guide offers a step-by-step approach to connecting your FlashLabel printer to a macOS system. We’ll help you understand the process from unboxing to test printing, offering troubleshooting advice to ensure optimal performance.
Contents of Post
System Requirements and Compatibility
Before diving into the installation, it’s important to confirm that your system meets the necessary requirements for the FlashLabel printer:
- macOS version 10.10 or later
- Available USB port or Wi-Fi connectivity (depending on the printer model)
- Admin access to install drivers and software
- A stable internet connection to download drivers and firmware updates
Check the model compatibility on the FlashLabel official website to ensure your specific printer model is supported by macOS.
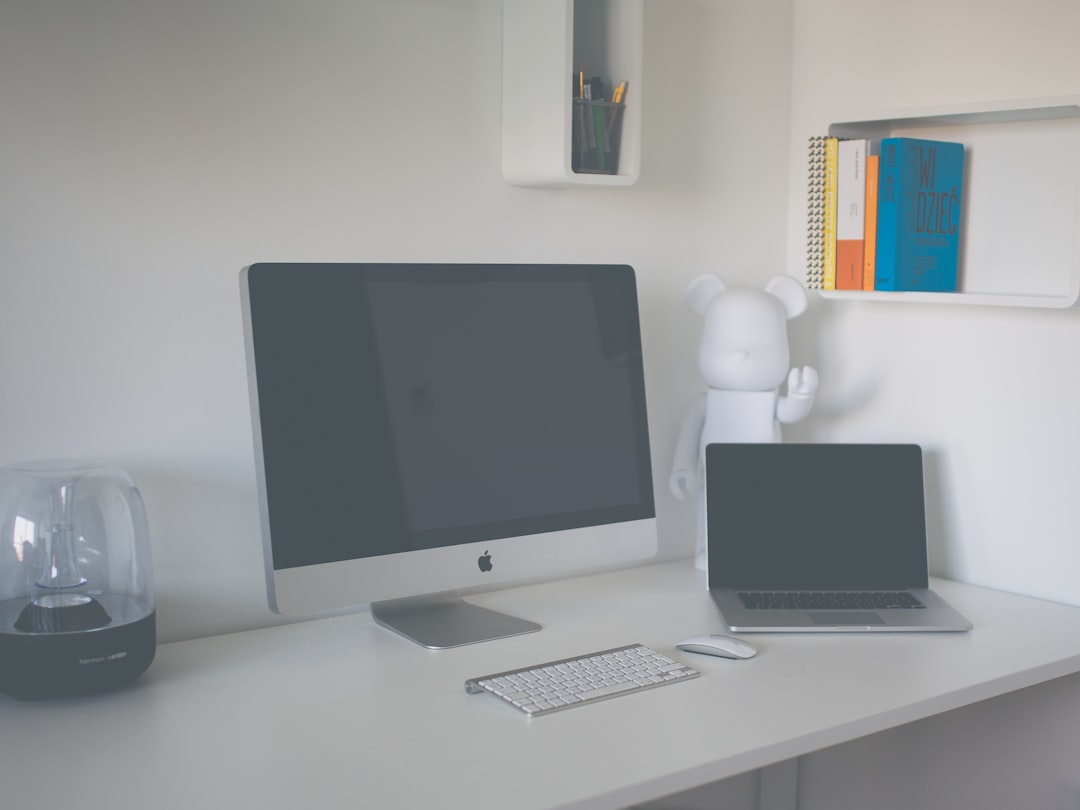
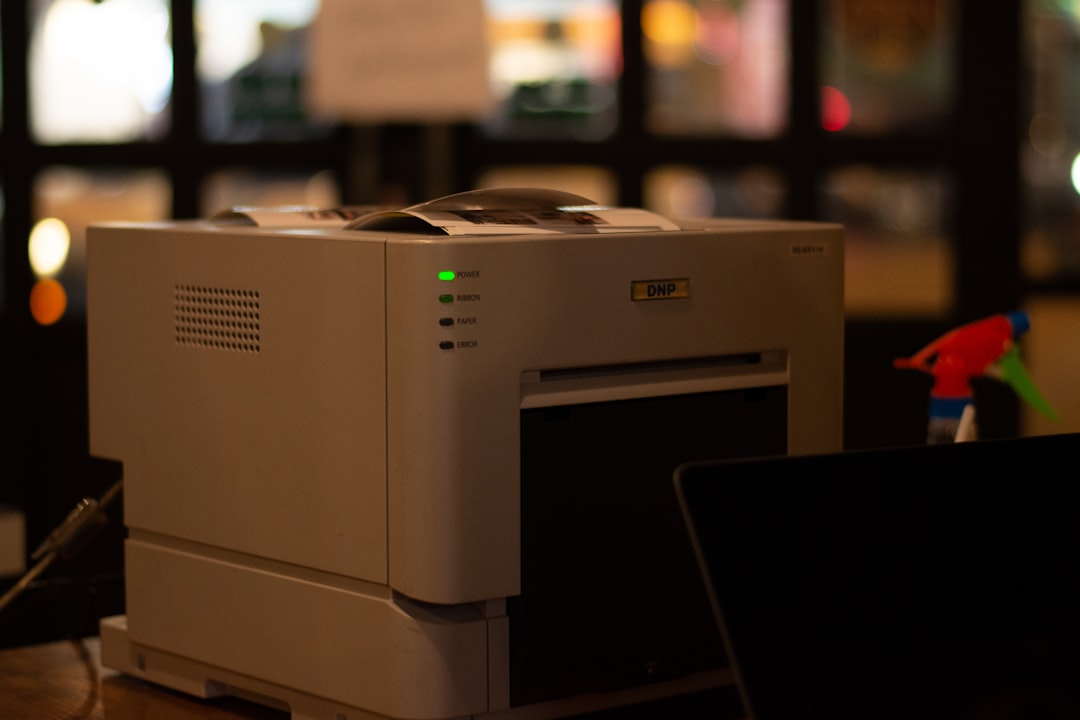
Unboxing and Hardware Setup
Once you’ve confirmed compatibility, proceed with unboxing your FlashLabel printer. Inside the box, you should find:
- The FlashLabel printer unit
- USB cable
- Power adapter and cable
- Starter label roll
- Setup guide/manual
Place the printer on a clean, level surface near your Mac. Connect the power cable and plug it into a wall outlet. Then, depending on your model:
- USB connection: Connect the USB cable from the printer to your Mac.
- Wi-Fi-enabled printer: You will configure the network settings later in the setup software.
Downloading and Installing Drivers
macOS does not always come preloaded with the specific drivers needed for thermal printers like FlashLabel, so the next step is to download the required drivers and software from the official FlashLabel support website.
- Visit the official FlashLabel support page.
- Navigate to the Drivers & Software section.
- Select your printer model and macOS version.
- Download the driver package (usually a .dmg file).
Once downloaded, open the .dmg file and follow the prompts in the installation wizard:
- Double-click the installer package.
- Click Continue and accept the license agreements.
- Enter your admin password if prompted.
- Complete the installation process and restart your Mac if required.
Keep in mind that some security settings on macOS may prompt you to allow the downloaded driver under “Security & Privacy” in System Preferences. Make sure to approve the necessary permissions.
Adding the Printer to macOS
After installing the driver, you’ll need to manually add the FlashLabel printer to your Mac’s printer list:
- Open System Settings (or System Preferences) from the Apple Menu.
- Go to Printers & Scanners.
- Click the + button to add a new printer.
- You should see your FlashLabel printer listed under “Default”.
- Select it and choose the correct driver from the drop-down list if needed.
- Click Add.
Your FlashLabel printer is now added and ready to be configured for label printing.
Loading Label Paper Correctly
Thermal printers like FlashLabel rely on label rolls rather than ink or toner. Improper loading can cause misprints or errors.
Here’s how to load the labels correctly:
- Open the printer cover and insert the label roll with the printing side facing upward.
- Align the roll using the guides on either side to ensure the paper moves straight through the feed path.
- Close the printer lid and press the feed button to detect and align the paper.
Ensure you’re using compatible labels recommended by FlashLabel to avoid printer damage or alignment issues.
Configuring Print Settings
After adding the printer and loading the labels, it’s important to configure the print settings to match the dimensions and orientation of your label rolls.
Follow these steps:
- Open the Printer & Scanners settings again and select your FlashLabel printer.
- Click Options & Supplies, then Driver tab to confirm the right driver is applied.
- When printing a label, click File > Print from your application (e.g., Safari, Chrome, or Preview).
- In the print dialog box, select the correct label size (often 4×6 inches) under Paper Size.
- Ensure Scale to Fit or Fill Entire Paper is checked based on your need.
For e-commerce users, websites like Amazon, Etsy, eBay, and Shopify often generate 4×6-inch shipping labels optimized for thermal printers. Double-check layout settings before finalizing your print.
Troubleshooting Common Issues
Encountering problems is not unusual when connecting third-party devices to macOS. Here are solutions for a few common issues:
- Printer not showing up: Ensure the USB cable is secure and try another USB port. Also, check that the firmware was installed correctly.
- Misaligned labels: Re-feed the label paper and press the feed button to reset alignment.
- Blank printing: Ensure you are using thermal paper with the printable side facing the correct direction.
- Printer offline: Remove the printer from System Preferences and add it again.
If issues persist, visit the FlashLabel support site for software updates or reach out to their technical support team.
Setup for Third-party Labeling Applications
FlashLabel printers are compatible with many third-party label creation and management software like:
- DYMO Connect
- Zebra Designer
- ShipStation
- Label LIVE
Most apps will allow you to choose your printer from an internal list during setup. Be sure to select FlashLabel and match your label size to the settings in the software.
Wireless Configuration (for Wi-Fi Models)
If your FlashLabel printer supports wireless printing, configure it through the provided setup utility:
- Open the FlashLabel installer app or network configuration tool.
- Choose “Wireless Setup” and follow the on-screen instructions.
- Select your Wi-Fi network and enter the password.
- The printer will attempt to join and confirm when successful.
- Print a network configuration sheet to verify the IP address.
Once online, you can add the printer via System Settings > Printers & Scanners > Add > IP using the IP address shown on the config sheet.
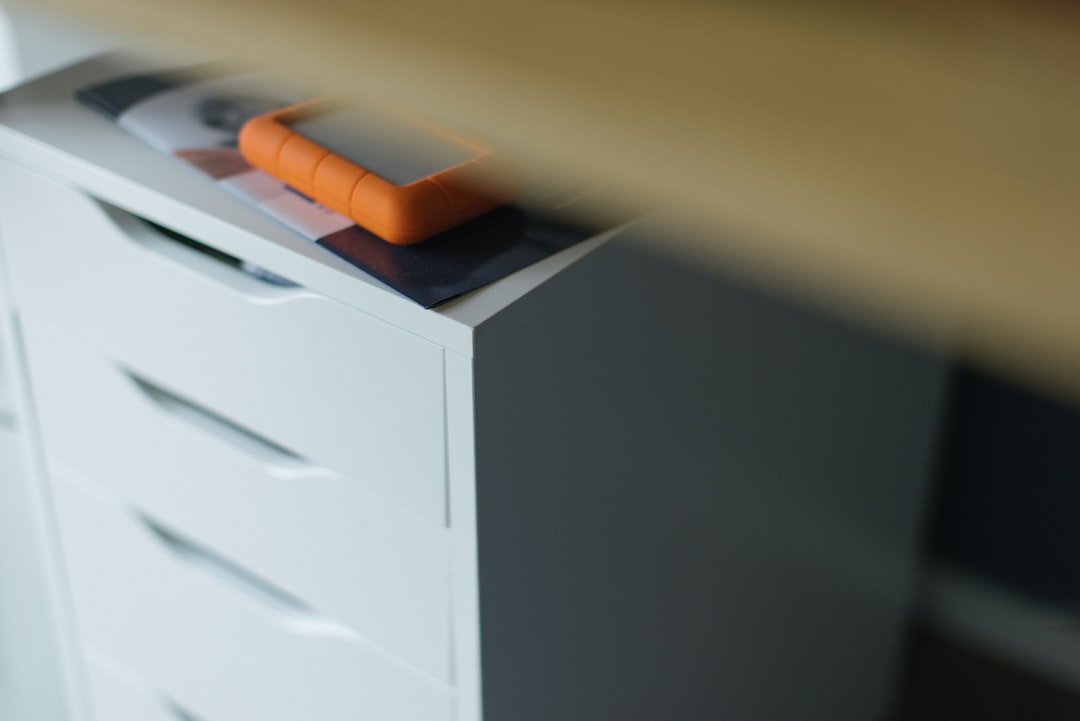
Regular Maintenance and Firmware Updates
Maintaining your FlashLabel printer ensures longer lifespan and higher quality prints. Tips include:
- Regularly checking for firmware updates from the FlashLabel website
- Cleaning the printhead after every 500 labels printed
- Storing label rolls in a cool, dry place to preserve adhesive quality
To update firmware:
- Download the latest firmware package for your model from FlashLabel’s website.
- Follow the included ReadMe for update procedure (usually via USB cable).